Config
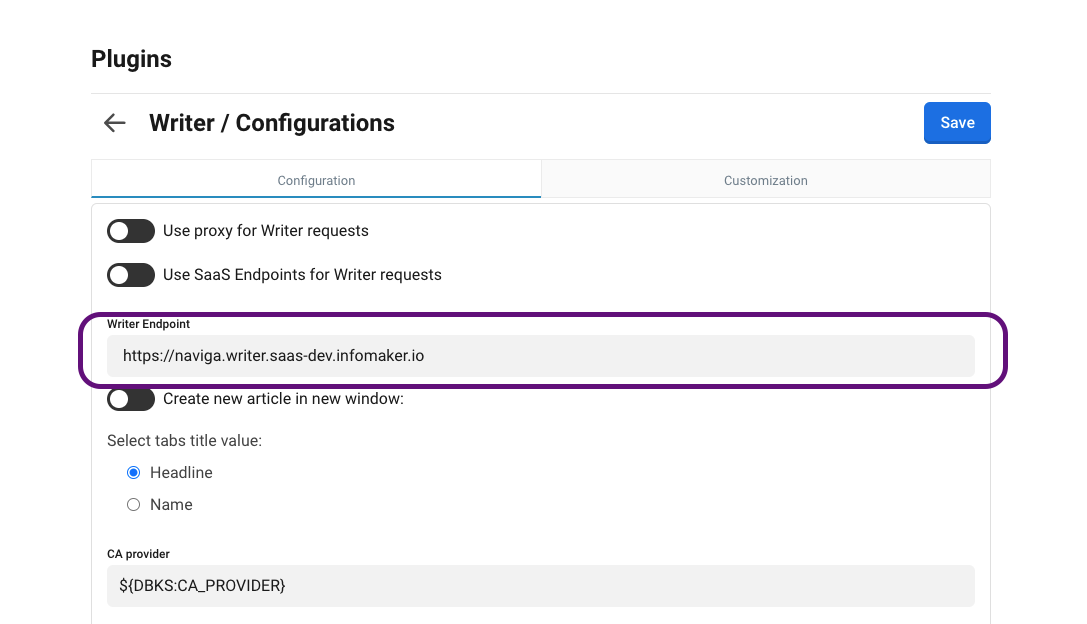
Configured with a Writer endpoint
in your Dashboard go to > plugins > Writer > settings.
and add Writer endpoint url,
example: https://writer.demo.imit.infomaker.ioand then click save.

Mappings
Writer plugin require mappings for:
Image Content Provider: in order to handle images for article preview
Content Agent: in order to fetch/write with CCA
Status Map: in order to set statuses on copied articles
In your Dashboard go to plugins > Writer > settings > mappings
Activate Writer-Tabs
in your Dashboard after you have installed Writer Plugin go to >
Dashboard menu > Application settingsin Writer Plugin settings, click on writer tabs switch button.
and then click save, to save the changes.
Choose Tab title value
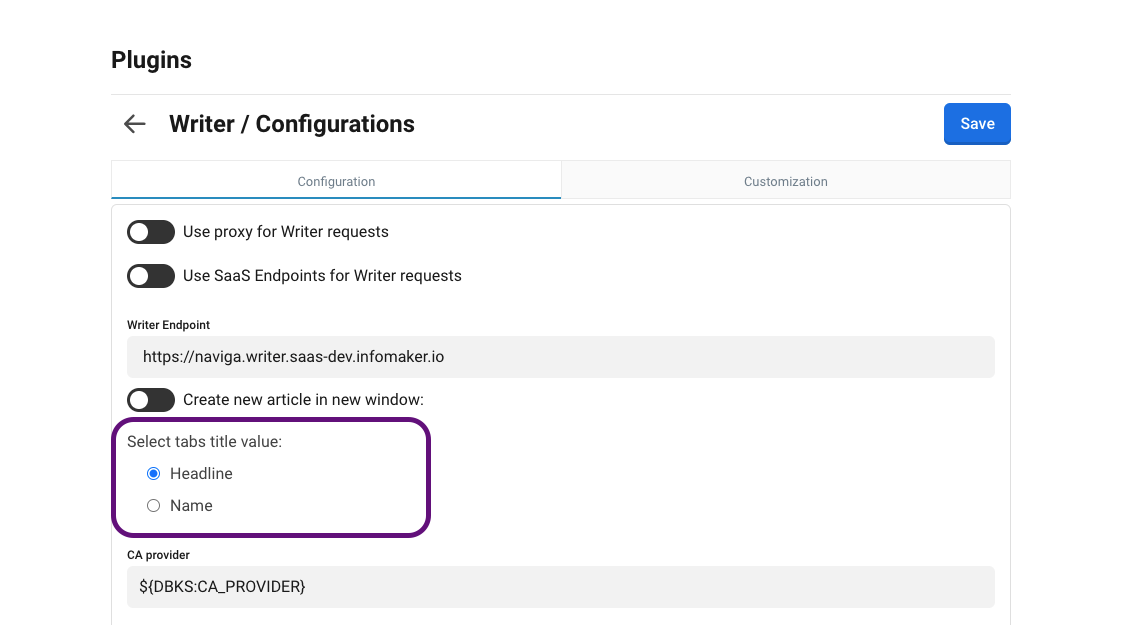
Now you can choose between Article's headline and Article's name to be as a Tab title when you have your Tabs active
in your Dashboard after you have installed Writer Plugin go to > Store > Writer plugin.
Click on settings button.
You will See at the bottom of the Settings section two options that you can select from
Select your option and click on save

Update Dashboard plugin in Writer
To test the new Dashboard integration plugin in your Writer:
Go to your Writer endpoint.
Go to your settings by pressing
CMD + shift + Yin Mac orCtrl + shift + Yin Windows.Find and remove the old plugin with name:
dashboardintegration.Add a new plugin with the following settings:
Id:
io.infomaker.dashboardName:
dw-plugin-dashboardPlugin src url:
https://plugins.writer.infomaker.io/v1/infomaker/dw-plugin-dashboard/{PLUGIN_VERSION}/index.jsPlugin css url:
https://plugins.writer.infomaker.io/v1/infomaker/dw-plugin-dashboard/{PLUGIN_VERSION}/style.css
Then enable the new plugin by activate the enable switch button.