# Create a planning
When you create a plan you can add it directly to an event. If you do so you get a clear picture of which events have or lack a planning. You can also create plannings without any connection to an event.
There are three ways of creating a Planning Card.
### Create a plan added to an event
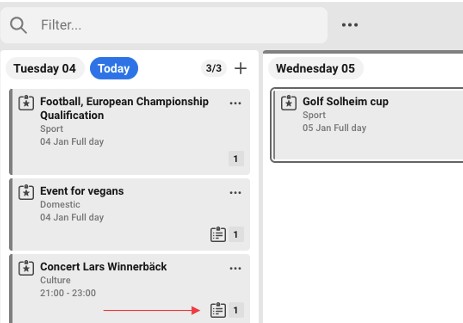
You can add a plan directly in the event. In this way you get a clear connection to which events have planned activities. When an event has a plan added you also see this directly in the calendar view of events.
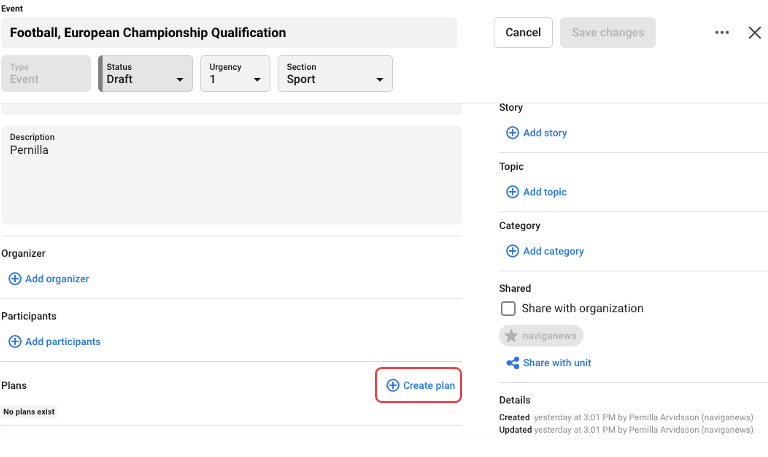
To add the plan directly in the event, start by open the event. Choose to edit it. At the bottom you click on Create plan.
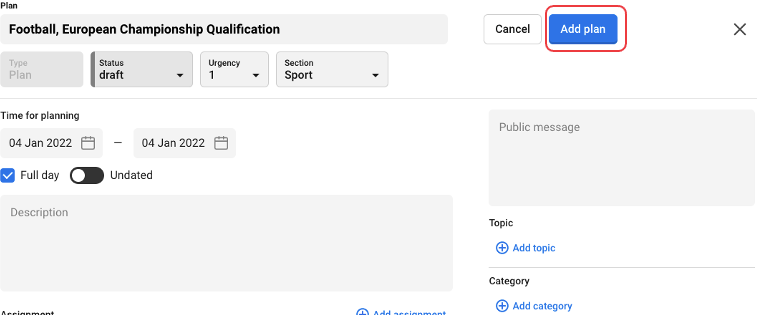
The plan is now opened. Enter the information you want included and then click Add plan. You will now return to the event. ([If you want you can also add Assignment directly when you have the Planning Card opened.)](https://docs.navigaglobal.com/newsroom-planner/user-guide/assignment/create-assignment)
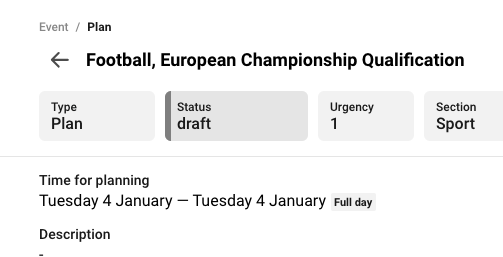
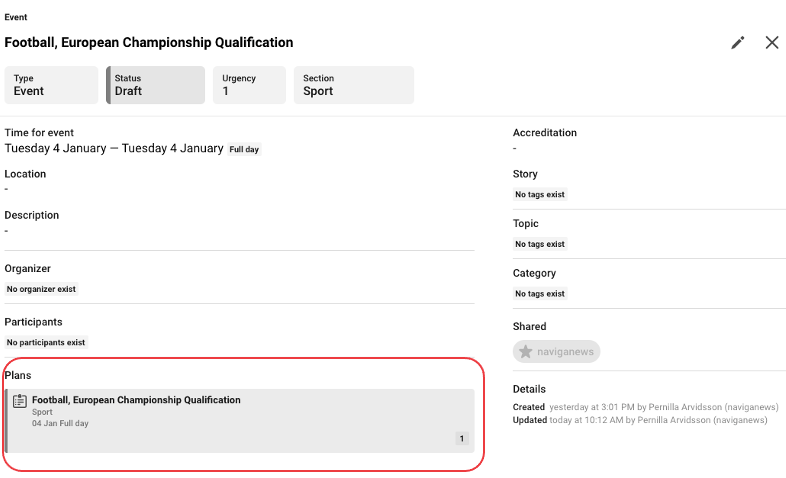
**Do not forget to click on the button Save changes in the event. Since it is a change you just made on the event, the plan will not be saved until the event is saved.** When you have saved the event after adding the plan you clearly see how they are connected when you open the plan.
You also see the connection in the event. The plan is visible and you can open it by clicking on it.
### Create a plan directly in the calendar for plannings
Click on Add card in the top of the column for the date when the plan takes place. If you choose to check in Post-it, the plan is added to the list and you can later edit it and add more information. This is a quick way to get the plan into the calendar without taking too much time for you. If you create it without selecting Post-it, the plan is opened and you can fill in more details directly.
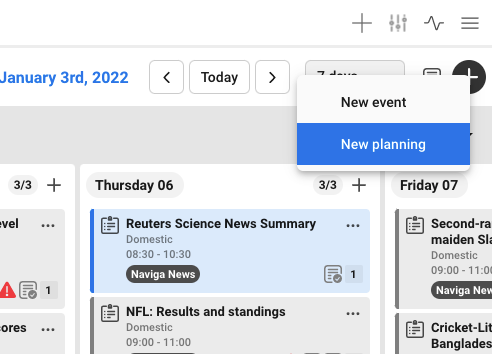
### Create the plan from the top menu
You can create a plan via the plus icon in the top bar. This choice is good to choose if it is a plan that is in the future, or undated, and you do not want to change the date in your calendar view.
When your new plan is opened you can put in more information about the plan. [You can also directly choose to add an assignment. ](https://docs.navigaglobal.com/newsroom-planner/user-guide/assignment/create-assignment)
If you do not know the date, use the function "Undated". You can create and add all the information you know and add the date later. The plan will be saved and you can find it in Search.

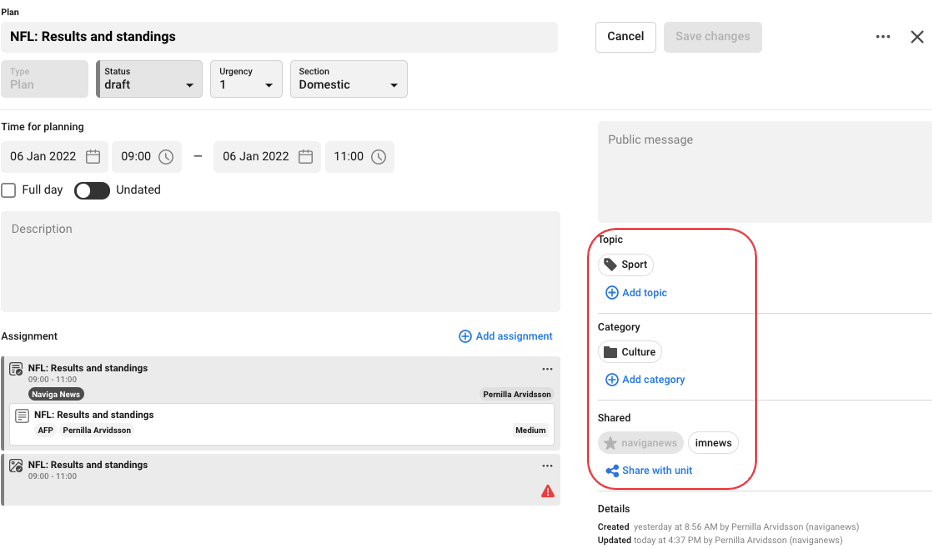
**TIP** One tip is to add metadata ( as Story, Topic and Category in the screenshot below) already on the plan. Doing so this information follows with both the assignment and the article automatically. If you added it to the event, the metadata from the event automatically follows to the plan so you do not have to do it again.
The plan will get the unit that you are logged in as by default, but you can share your plan with other units you belong to, see the highlighted information below. If you choose to share it with more units, the assignment will also get all these units. If someone else but you create the assignment, the assignment will get the unit the creator is logged in as.
{% hint style="info" %}
### Connecting a plan to an event
If you create a planning without a connection to an event, you cannot add the planning to an event afterwards. If you want the connection between the event and the plan you need to create the plan in the event.
{% endhint %}