
User Preference Setup
You can designate personal preferences for your Plan user.
Open the Preferences dialog box by doing one of the following:
Navigate to Edit -> Preferences
In the Plan, press Ctrl-K (Windows) or Command-K (Mac OS). The Preferences dialog box opens.
Select from the following options:
Locale and Units
In the popup, select Locale & Units.
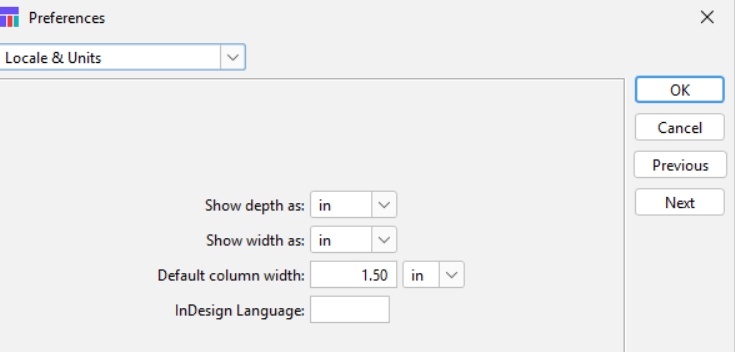
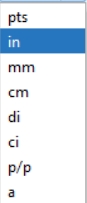
In the depth and width boxes, select desired units for viewing sizes in the system. The following options are available:
Default Column width - can be ignored as it isn't used in this version
InDesign language can also be left blank. It can optionally be used with the InDesign script output
Click OK.
Options
In the popup, select Options.
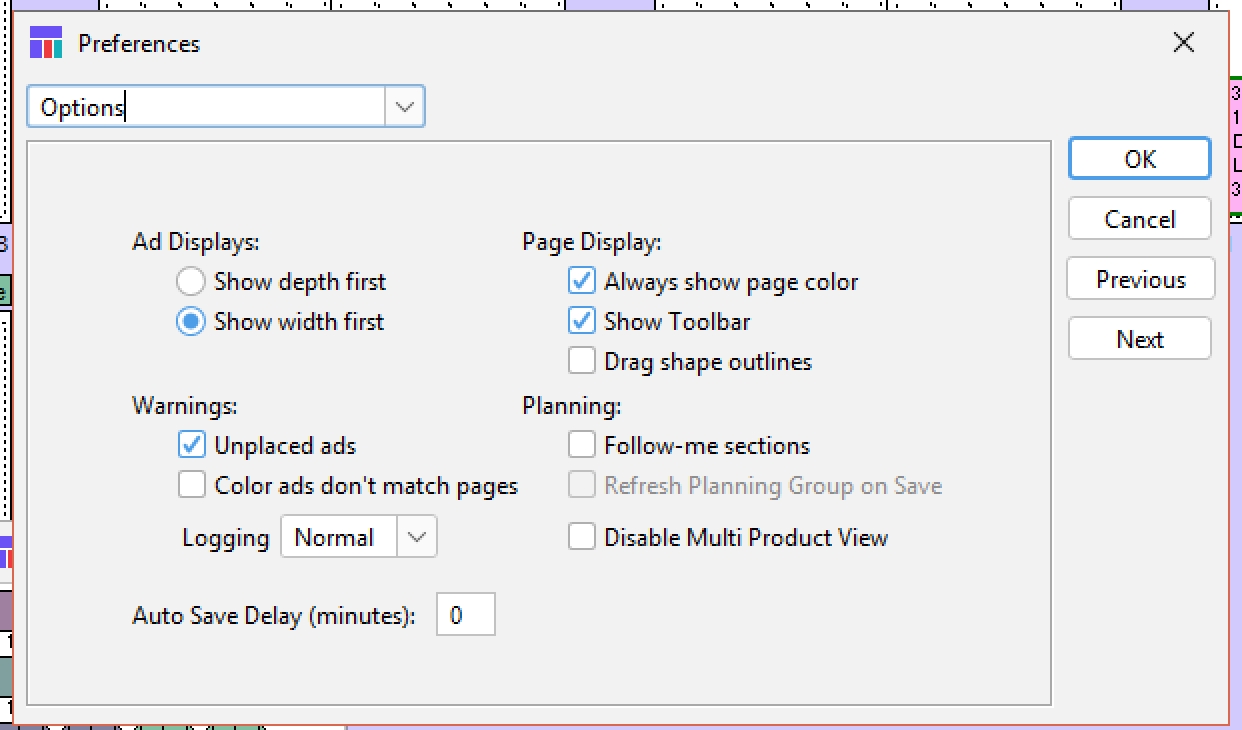
The Preferences Options panel
Ad Displays
Show depth first button
In items in the Plan layout, shows the depth first. For example, 18 x 2.
Show width first button
In the layout items, shows the width (in columns) first. For example, 2 x 18.
Warnings
Unplaced ads check box
If checked, when you close a plan, you will be given the number of unplaced ads.
Color ads don't match pages
If checked, a warning will display if a color ad is placed on a B&W page (or a 4-color ad is placed on a spot-color page)
Logging
Select the logging level for the log file stored in the planning.jar location (C:\Users\Public\Desktop\NavigaPlan\log). It is recommended that this is kept at 'Normal' unless actively testing something.
Page Display
Always show page color check box
If checked, the color box appears below each page whether any color is used on it or not. If unchecked, the box only appears if color is used on the page.
Show Toolbar
This is recommended to be shown. The toolbar is this set of icons at the top of the page
![]()
Drag Shape outlines
Check this setting to see the shape of the ad while you are dragging and dropping it onto the page. This helps user to identify the amount of space needed to fit an ad into a space
Planning
Follow‐me sections check box
In this workflow, sections are not defined on the page sets but are instead set by the first ad placed on that page. This is not used by most customers. Leave unchecked unless directed to do so by Naviga Support/Implementation.
Refresh Planning Group on Save check box
If checked, when you save the plan for an edition that belongs to a planning group, Plan applies any ad placement changes to the other editions in the planning group. (Planning Groups are not currently supported, but may be included in a future release)
Disable Multi Product View check box
Disables having other Products in a group open when you open a master edition.
Set desired preferences according to the descriptions above.
Click OK.
Outline Info
You can designate what information you want to appear in each outline type and the order in which it appears.
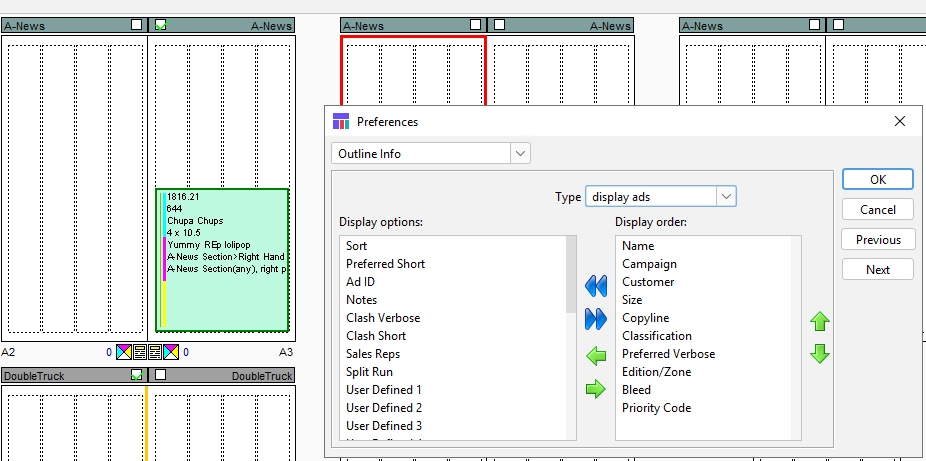
In the popup, select Outline Info.
In the Type popup, select the type of ad or page furniture for which you want to set display options. Types are liners, display ads, fillers, headers, banners, reserved ad space, reserved editorial space, reserved special space, reserved to-sell space, export liners, and export display ads.
Do one of the following:
To enable all the display options for the selected ad or page furniture type, click the double arrow (
 ). (You likely wouldn't want all of them selected - there are too many and would run out of room on smaller ads)
To enable one display option at a time, in the Display options column, select the option and click the right arrow (
 ).
Note: To enable Plan users to see info in plain text on the preferred position for each ad, include Preferred Verbose in the Display Order list. To include this info as codes, include Preferred Short.
).
Note: To enable Plan users to see info in plain text on the preferred position for each ad, include Preferred Verbose in the Display Order list. To include this info as codes, include Preferred Short.
To arrange the order in which you want the information to appear, select an option and move it up the list by clicking the up arrow (
 ) or down the list by clicking the down arrow (
 ).
).If desired, repeat for other types of ads.
Click OK.
The selected the information will appear on the ads or ad furniture in the Plan.
GUI Settings
In the popup, select GUI Settings

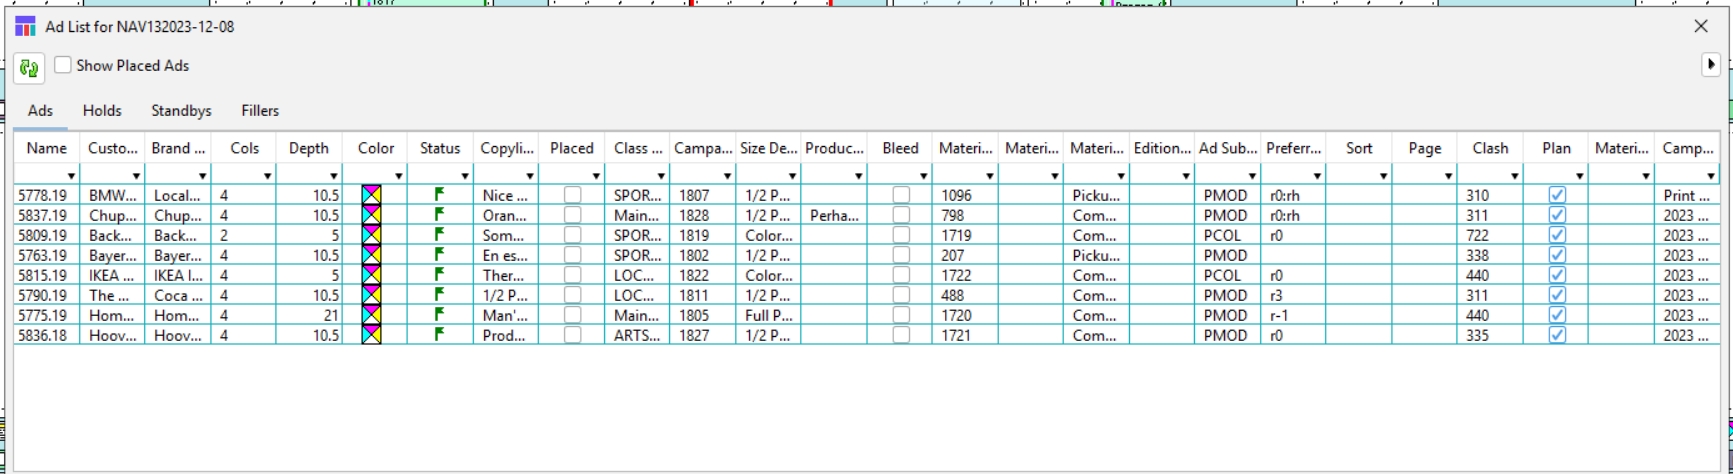
Select “show ad list grid” and the ad list will appear with subtle lines between fields to make it easier to read. How subtle those lines are is very dependent on the contrast setting on your monitor, so we have also allowed for you to select the color you would like for the grid outline. In the screenshot above, a blue-green color was chosen of show a sharp contrast in the below image
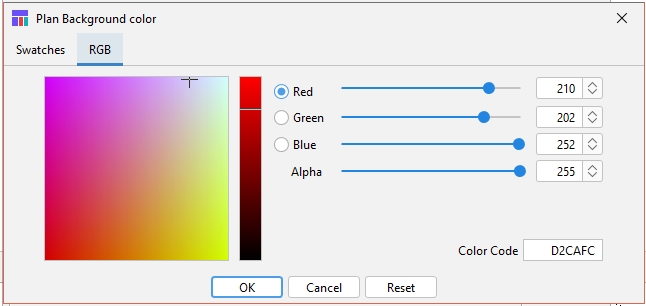
You can also select the background color for Naviga Plan. Click on the color box and a dialog will open to allow you to select your color. Choose from the preset swatches or go crazy with the RGB settings. Example can be seen in the background of the GUI Settings screenshot above.

Pro tip for users that have separate test and production environments – Choose one color for your test system and another color for live. Then you will always know which system you are in!
Enter desired font size for the Outline info on ads. (Note: If you set this number too large, it may be difficult to read it for 1 column ads unless you are viewing the page with only one spread at a time)
By default, the Ad Space, Editorial Space and Special Space are all blue. Special space has a gray bar to the right, and editorial space is transparent - but the colors are all very similar (image on the left below). These three options allow the user to choose which colors they want for each reservation type and can choose to make them more or less transparent. The Alpha slider on the RGB Tab of the color picker determines transparency. Slide to the left for more transparent, and to the right for more opaque.
 .
. 
By default, when integrated with NCS Content integration, editorial spaces will be will displayed in a variety of colors based on the kind of content it is (headline vs image, vs story, etc) - as shown below in the second image. The first image is how you will see it if this setting is on. It makes the editorial boxes much more subtle so that the ads stand out a little more prominently.


Last updated
Was this helpful?