
Getting Started
Language Setting
The default language for Plan is English, but French is also now supported. It will pick up the language based on the language set on the workspace. If the workspace is set to English, and it is desired to have Plan launch in French, there is a shortcut that Naviga Personnel can provide to do that. Please reach out if it is needed.
Launching Naviga Plan
Use the Naviga Plan.jar to launch the Naviga Plan Application. There will be a shortcut on your workspace desktop. Your system administrator or Implementation specialist will give you a username and password for the application.
To launch the Naviga Plan Application in Windows
If you are in AWS, launch Workspaces and first log into your workspace.
Launch Plan by double-clicking on the appropriate icon:
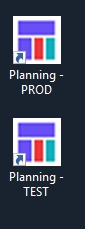
If you are using NCS content as your editorial system, you will typically have a single planning icon.
If you are using another Editorial system, or InDesign select the planning icon for PROD (Production database) or TEST (Testing database)
If the Login Settings dialog box appears, then your prefs.dat file has been moved or deleted (this will typically not occur).
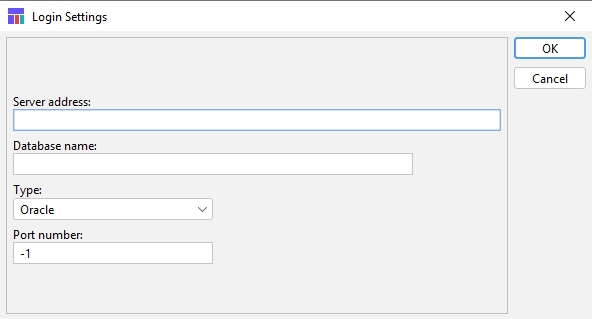
Enter the Server or IP address, the Database Name, and the Port Number. If you do not know this information, contact your system administrator or Naviga Support.
Click OK.
Note: A prefs.dat file will be created in the same folder that the Naviga Plan.jar is located. The pref.dat file stores the user’s login settings. Your Plan Implemention specialist typically will set this information up in advance of your training, so you would typically not see the above settings screen.
The Naviga Plan Application Log In dialog box appears. If you are using NCS Content, your login will look like the login on the left below. If you are not using NCS Content, you login will appear like the login on the right:
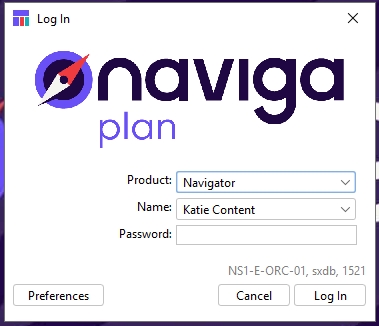
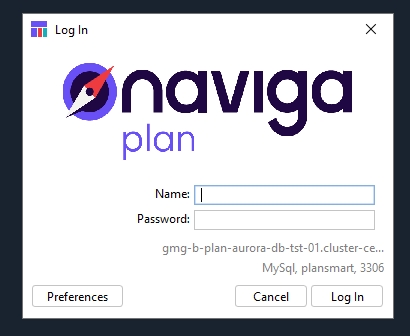
Select the NCS Content product you would like to use.
Select your username from the list (NCS Content customers) or type your username (other sites).
Type in your current password.
Click Log In.
Note for those using NCS Content: In the Naviga Plan dialog boxes (like the login name field), you can utilize type-ahead. Place your cursor in the list and enter the first letter of the name you are looking for. For example, if you enter an “r,” the list scrolls down until the first item that begins with an “r” appears. You need not press Enter after you key in the letter. If you enter two letters, the list will scroll to the first item beginning with the two letters. If no item begins with the initial letter, the list does not scroll.
After logging in. the Naviga Plan Application will launch.
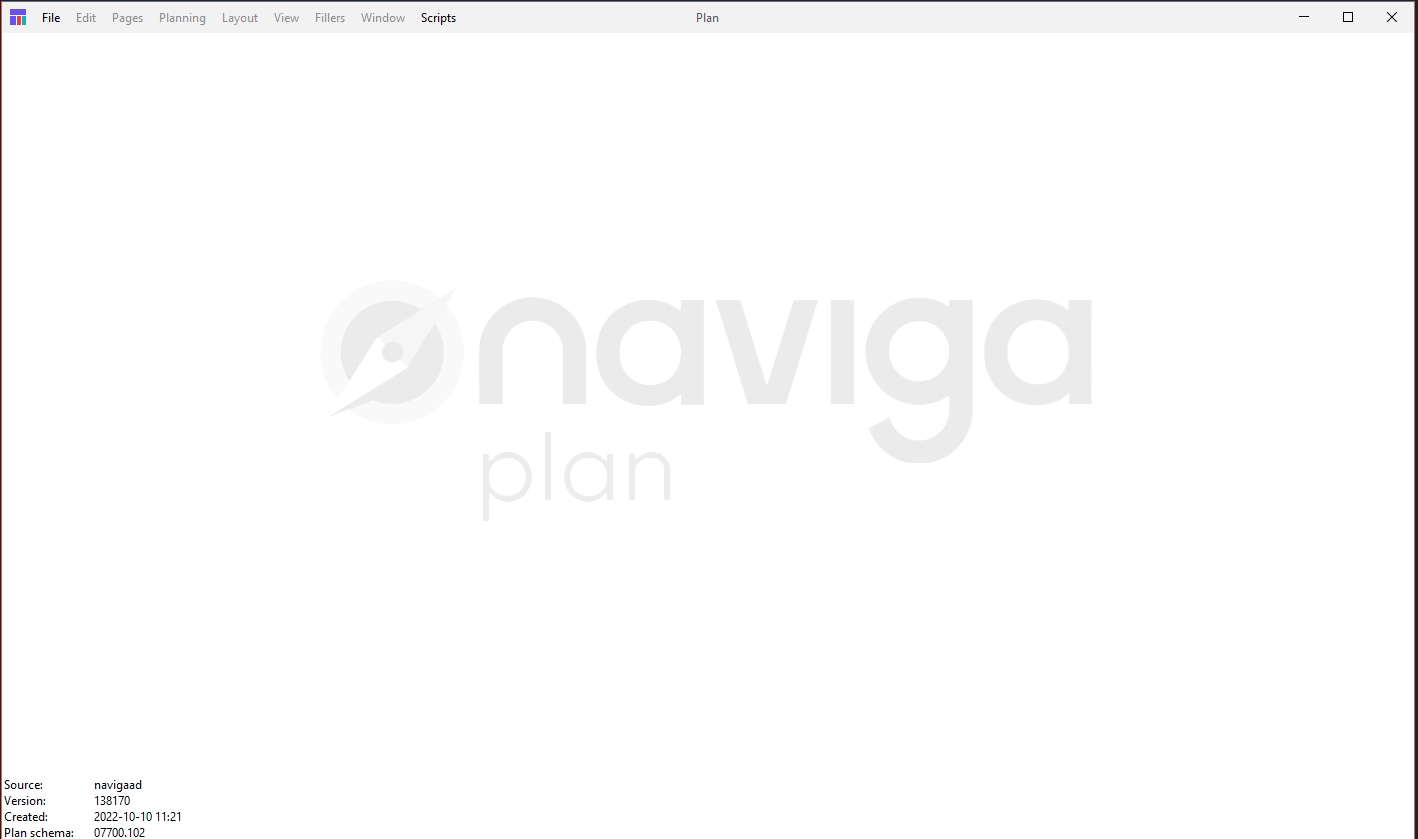
Note the Naviga Plan version information in the lower left corner. If you ever see a red warning, alert your System Administrator. A warning will be displayed if the version of plan that you are running is mismatched with the version of the database that you are using. Under normal circumstances, the text will all be in black and will just be informational to know what version of plan you are on and when it was created.
Last updated
Was this helpful?