
Ad Lists
Using the Ad List dialog box
The Ad List dialog box allows you to see lists of ads that are assigned to the plan, on-hold ads, standby ads, fillers. (Holds and Stand-by ads not currently supported in Naviga Ad)
Open the Ad List
Do one of the following:
In the Plan menu choose Window -> Ad List.
Press Alt-A (Windows) or Option-A (Mac OS).
The Ad List dialog box opens.
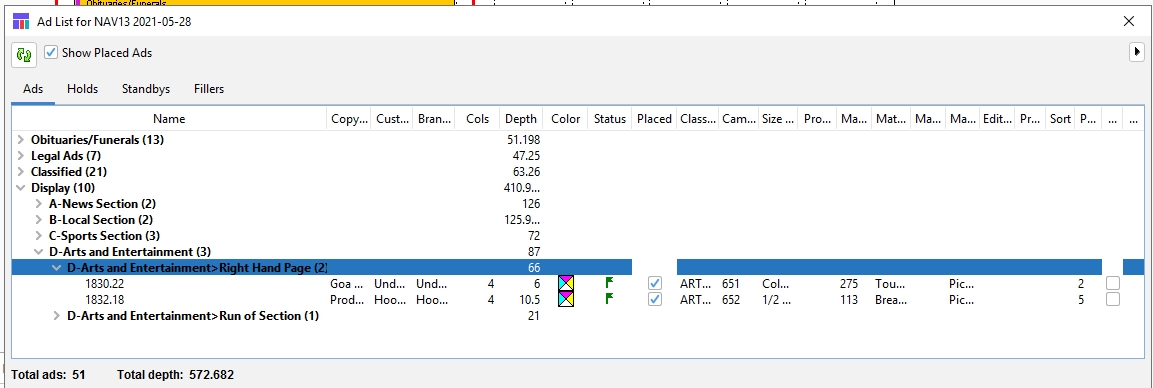
![]()
Refresh icon
Refreshes the plan and the Ad List dialog box, including the Ads list, On‐hold Ads list, Standby Ads list, Fillers list, and Irregular Ads list. See Refreshing plans.
Show Placed Ads check box
When checked, placed ads are included in the Ads list. The Placed check boxes in the list show which ads have been placed on the plan.
![]()
Ad List Menu icon
Deploys the Ad List menu.
Note: Choose Ad List views from this menu: Nested Classifications, Single Classifications, or N Classifications.
![]()
Switch icon
In the Nested Classifications and the Single Classifications views, displays the classification name and the number of ads in that classification (including, in the Nested Classification view, the ads in any subordinate classifications). Click to expand the list.
Total ads text box
If Show Placed Ads has not been checked, displays the total number of ads scheduled for the plan that have not yet been placed.
If Show Placed Ads has been checked, displays the total number of ads scheduled for the plan.
Total depth text box
If Show Placed Ads has not been checked, displays the total depth of all ads scheduled for the plan that have not yet been placed.
If Show Placed Ads has been checked, displays the total depth of all ads scheduled for the plan.
For example, a 2‐column by 3‐inch ad is counted as 6 inches of depth.
Views in the Ad List window
The Ad List dialog box features four panels:
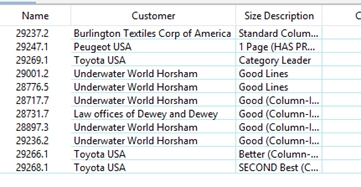
The Ads panel: A list of all the ads scheduled for the plan you have open.
The Holds panel: A list of all ads scheduled for the plan but that are on hold.
The Standbys panel: A list of all ads that are on standby.
The Fillers panel: A list of all available fillers.
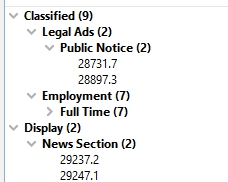
In the Ad List menu, you can view the list in any of the panels in one of three views:
Nested Classifications: The ad list for each classification is grouped under a Switch icon (
 ), which you can click to expand or collapse the list. The list may include subordinate or “nested” Switch icons with their own lists.
Single Classifications: Just as with the Nested Classifications view, the ad list for each classification is grouped under a Switch icon (
 ), which you can click to expand or collapse the list, but without any subordinate or “nested” Switch icons (classifications).
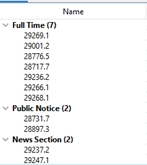
No Classifications: A simple list of all the ads in that panel.
Sorting ad lists
You can sort a panel’s ad list alphanumerically by a column, after which you can perform a secondary sort by another of the panel’s columns.
For example, you can do a primary sort by the “Cols” column, so that all the one-column ads are at the top of the list, then all the two-column ads, and so forth. Now you can do a secondary sort—say, by Status. The list remains sorted by column width, but within each width the list is sorted by Status.
In any of the three Ad List views, you can sort only lists of ads. You cannot sort a list of Switch icons nor a mixed list of Switch icons and ads—but when you click a Switch icon to select it and expand its list, you can sort that list.
Primary and secondary sorts on Ad List
If you choose the Ad List view “No Classifications,” you can sort by any column in any Ad List panel alphanumerically. You can then perform a secondary sort on a second column and sort that column within the constraints of the first (primary sort) column.
Note: You cannot sort by column in any view (Nested Classifications and Single Classifications) that includes the Switch icon (![]() ).
).
To perform a primary sort, do one of the following:
In the panel menu, choose No Classifications.
In the panel menu, choose Nested Classifications or Single Classifications.
If the view you chose includes Switch icons, find and expand the Switch icon that contains the list you want to sort.
Double Click the column head of the column by which you want to sort the list. The Plan sorts the list by that column in ascending alphanumeric order.
To reverse the sort to descending order, click the column head again.
To perform a secondary sort, do one of the following with a different column head:
Double Right-click it.
Ctrl-double click (Windows) or Command-double click (Mac OS) it. The Plan sorts the list by that column in ascending alphanumeric order, but within the constraints of the primary search. To reverse the sort to descending order, click the column head again.
Rearranging columns in the Ad List
Each panel can have any of several columns. The system administrator uses Naviga Plan Setup to determine the columns that appear in each panel and their order.
You can change the width and rearrange the location of columns that appear in each panel in each session. Once you log out and back in, it will reset to the column order that was set in Naviga Plan Setup, so if you wish to make a permanent change, best to do it in Setup rather than in Naviga Plan.
To change column order and width
To change the location of a column within the item list, click the name of the column you want to move and drag it to the new location.
To change the width of a column, in the gray column name area of the item list, place the cursor on a column border. When the cursor changes to a double arrow (
 ), click and drag to change the width of the columns in the list as desired. All columns to the right of the selected columns resize themselves proportionately. Column borders to the left stay in place.
To sort the ads, click on any column label. To reverse the order of the ads, click again.
Note: If you resize the panel by clicking and dragging the lower right-hand corner of the center, the columns resize themselves proportionately.
Note: You can perform a primary and secondary sort on two columns (Columns and Depth, for instance). To perform a two-column sort, click the Columns label and then right- or Ctrl-click (Windows) or Option-click (Mac OS) the Depth column. Columns and depths are sorted and grouped according to the number of columns and the depths of the ads.
The features are common to all four panels, but the columns may vary. For each panel, your system administrator can create multiple sets of column arrangements with column order and sizes. To select a set, in the Ad List dialog box menu, choose Set and then select the desired column set.
To reset the column order and widths to their default configuration or a selected set, in the Ad List dialog box menu, choose Reset Columns. If a change was made in Plan Setup, you can also choose Reset Columns to bring in those changes.
Using the Panels
To use the Ads panel
The Ads panel allows you to see a list of all the ads scheduled for the plan you have open. See Planning ads
To open the Ads panel, do one of the following:
In the Ad List dialog box, click on the Ads tab.
In the Plan menu choose Window -> Ad List.
Press Alt-A (Windows) or Option-A (Mac OS). The Ads panel opens. Note: Your system administrator determines the columns. See Ad List Column Definitions
If you want the list to include ads that have been placed on the plan, in the Ad List dialog box, check the Show Placed Ads check box. Important: When the Show Placed Ads check box is not checked:
The Ads list does not include classifications for which all ads have been placed.
The Total ads number and Total depth do not include placed ads.
The placed ads are not listed in the Ads list.
To change the levels of classifications that show in the Ads list, in the Ad List menu do one of the following:
To show only ads but no classifications, choose No Classifications.
To show only ads in the first level of classifications, choose Single Classifications.
To show ads in all levels of classifications, choose Nested Classifications.
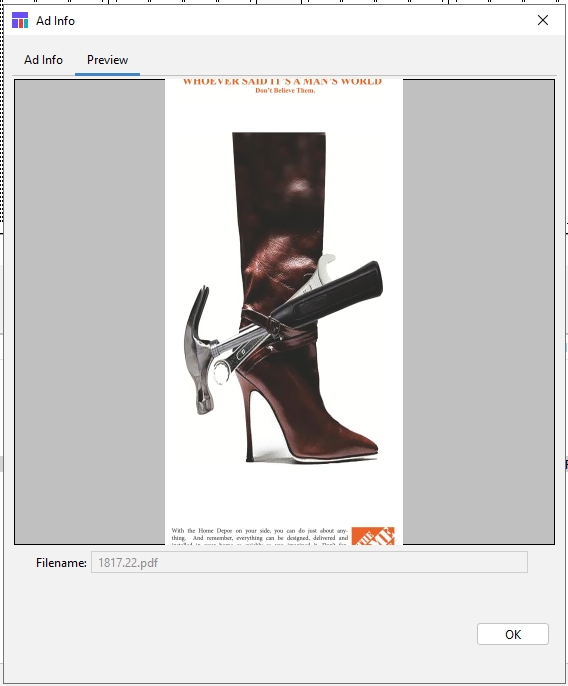
To preview an ad:
Select it in the Ads panel list.
Do one of the following:
From the Ad List menu, choose Info.
Press F4. The Ad Info dialog box opens.
Click the Preview tab. The Preview opens.
Holds panel
Not implemented in Naviga Plan or Setup.
On-hold ads are ads that have been scheduled for the current plan but are on hold for some reason, such as pending a credit check.
Naviga Ad does not currently support hold ads.
Standbys panel
Not implemented in Naviga Plan or Setup.
Classified, classified display, and ROP ads can be scheduled as standby ads. A standby ad will run whenever there is available space. Standby ads are usually sold for multiple insertions, and Naviga Plan keeps track of the number of insertions to date. Naviga Ad does not currently support Standby Ads.
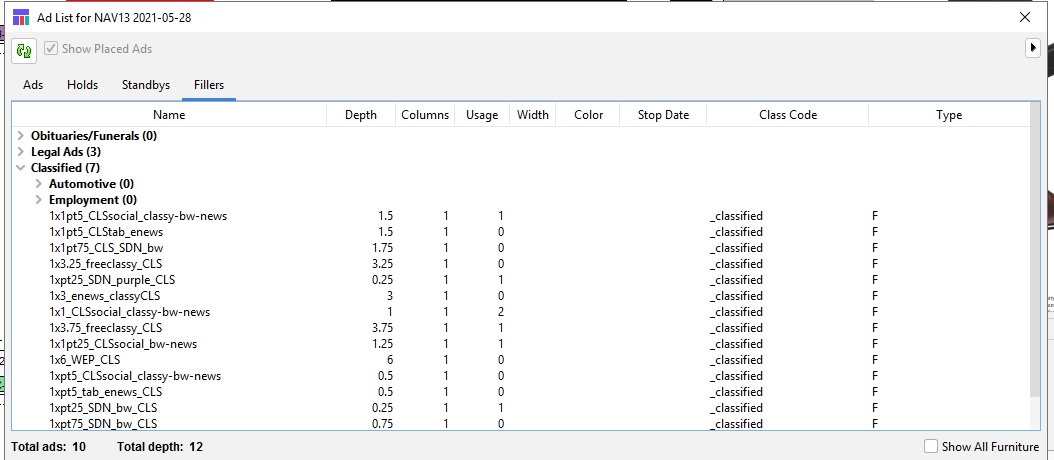
Using the Fillers panel
The Fillers panel lists fillers for all advertising sections. If you want, the panel also shows all banners and headers.
Fillers, banners, and headers are set up and created in Naviga Plan Setup and organized in the Fillers panel. See Naviga Plan Setup for information on setting up Fillers, banners, and headers.
There are several types of fillers, banners, and headers.
Alternate header
Banner
Filler
Header (minor) for classifications
Major header for sections
To use the Fillers panel
In the Ad List dialog box, click on the Fillers tab. The fillers tab display like this:
Note: Your system administrator determines the columns in Plan Setup.
If you want to include headers, banners, the classified index, or any other items that are always present on the plan, in the Ad List dialog box, check the Show All Furniture check box.
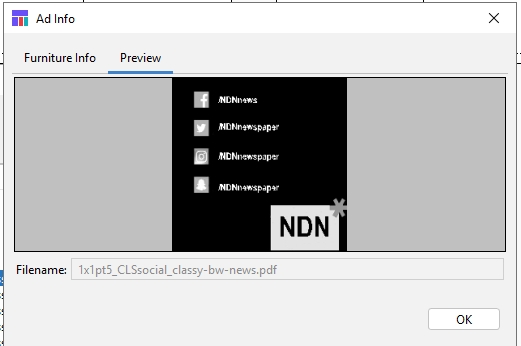
To preview a filler:
Select it in the Fillers panel list.
Do one of the following:
From the Ad List menu, choose Info.
Press F4. The Ad Info dialog box opens.
Click the Preview tab. The Preview opens.
To place a filler, drag and drop it from the list onto the page.
Alternatively, you can manage fillers in the library filler list
Was this helpful?