
Furniture
Furniture includes all your headers, banners, and filler ads. This will primarily be used for our Newspaper customers in their classified section. If you do not have classifieds, or do not have a need for headers, fillers, and banners, you may skip this part of the setup.
For sites that are hosted, the Naviga Hosting team will set up an ftp location that is pre-populated with several folders and subfolders. You will be provided connection information from your implementation team to get to your ftp location.
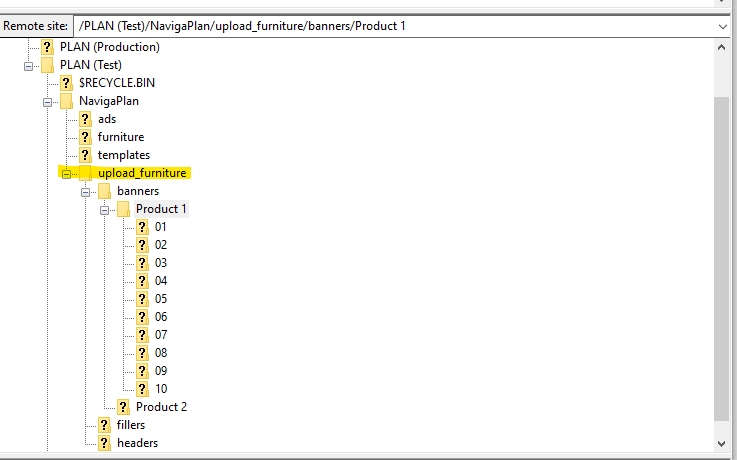
In the “upload_furniture” folder you will find a subfolder for banners, fillers, and headers. In each of these subfolders, we have Product 1 and Product 2 subfolders, each with numbered folders underneath. The numbered folders at the lowest level represent the number of columns in the material. You may delete folders if you have fewer than 10 columns to a page, or you can add more if more are needed. Copy the folders as needed so that you end up with a folder for each of your plan products. Rename Product 1, Product 2, etc to be the Product Code that you have set up on the Product setup in Naviga Plan. One folder for each product. Each Product folder should have column folders under it corresponding to the number of columns on that product’s page.
If any product uses ALL the same furniture as another product, you do not have to duplicate it. You can set it up on one product and allow another product to inherit it. The child product will inherit ALL furniture from the parent.
Once you have the folders and subfolders that you need to accommodate your products, you may add your filler, header, and banner files to the folders. All your one-column headers will go into the 01 folder under the appropriate product. All your two column headers will go into the 02 folder under the appropriate product, etc. The files must be pdf formats.
Important Note: When first setting up your system, practice first with a couple of each type to ensure you are getting the results you want. Once you are confident in your setup, then import the remaining items.
Note: when creating your files, it is strongly recommended that you name your pdfs to match the section that it belongs to. It will save you a lot of setup time. If the system can find a section match when importing the furniture, it will auto-assign that section to the furniture. If it cannot find a match, it will set the section as the Default section and you will have to manually link it to the correct section from a dropdown list of all the sections.
Importing Headers, Banners & Fillers
To Import, follow these steps:
In the top right, select product and the furniture type you are importing:

Click import.
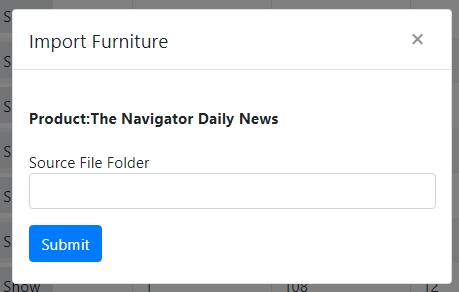
In the Source File Folder, you will need to enter the folder where import_furniture can be found. This is a bit tricky because it is wanting the location on your Integration server and not on your local workspace. The storage on the Integration server is the D Drive and not the Y or Z drive as it might appear from your local workstation drive mapping.
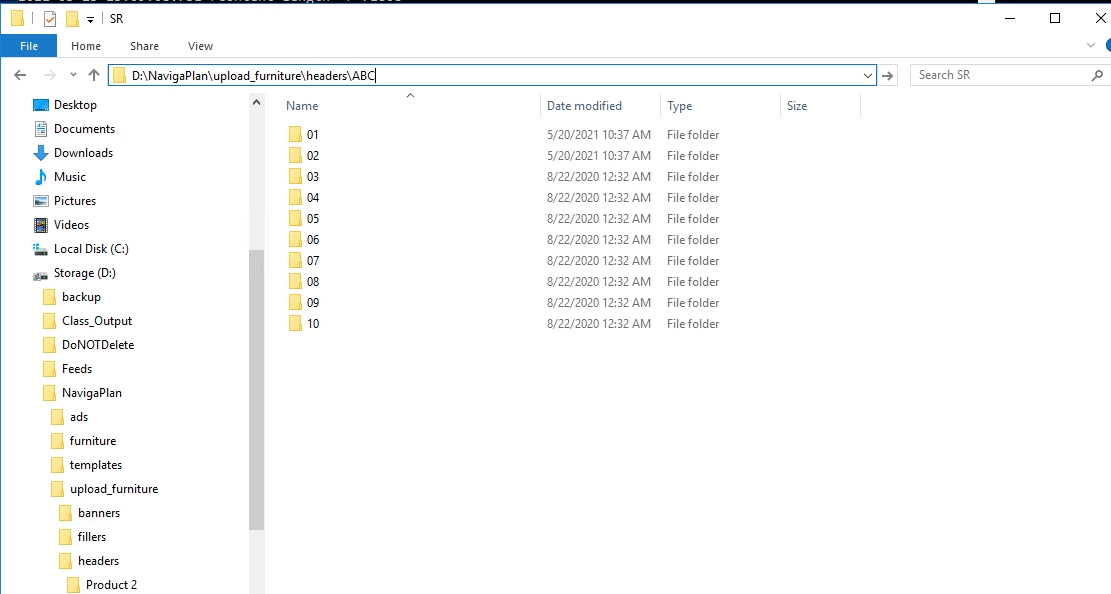
If you are importing headers, your source will look like this (with your selected product code instead of Product 2): D:\NavigaPlan\upload_furniture\headers\Product 2
If you are importing banners, your source will look like this (with your selected product code instead of Product 2): D:\NavigaPlan\upload_furniture\banners\Product 2
If you are importing fillers, your source will look like this (with your selected product code instead of Product 2): D:\NavigaPlan\upload_furniture\fillers\Product 2
Once imported, you will get a confirmation page showing the files that were imported. Close the window.
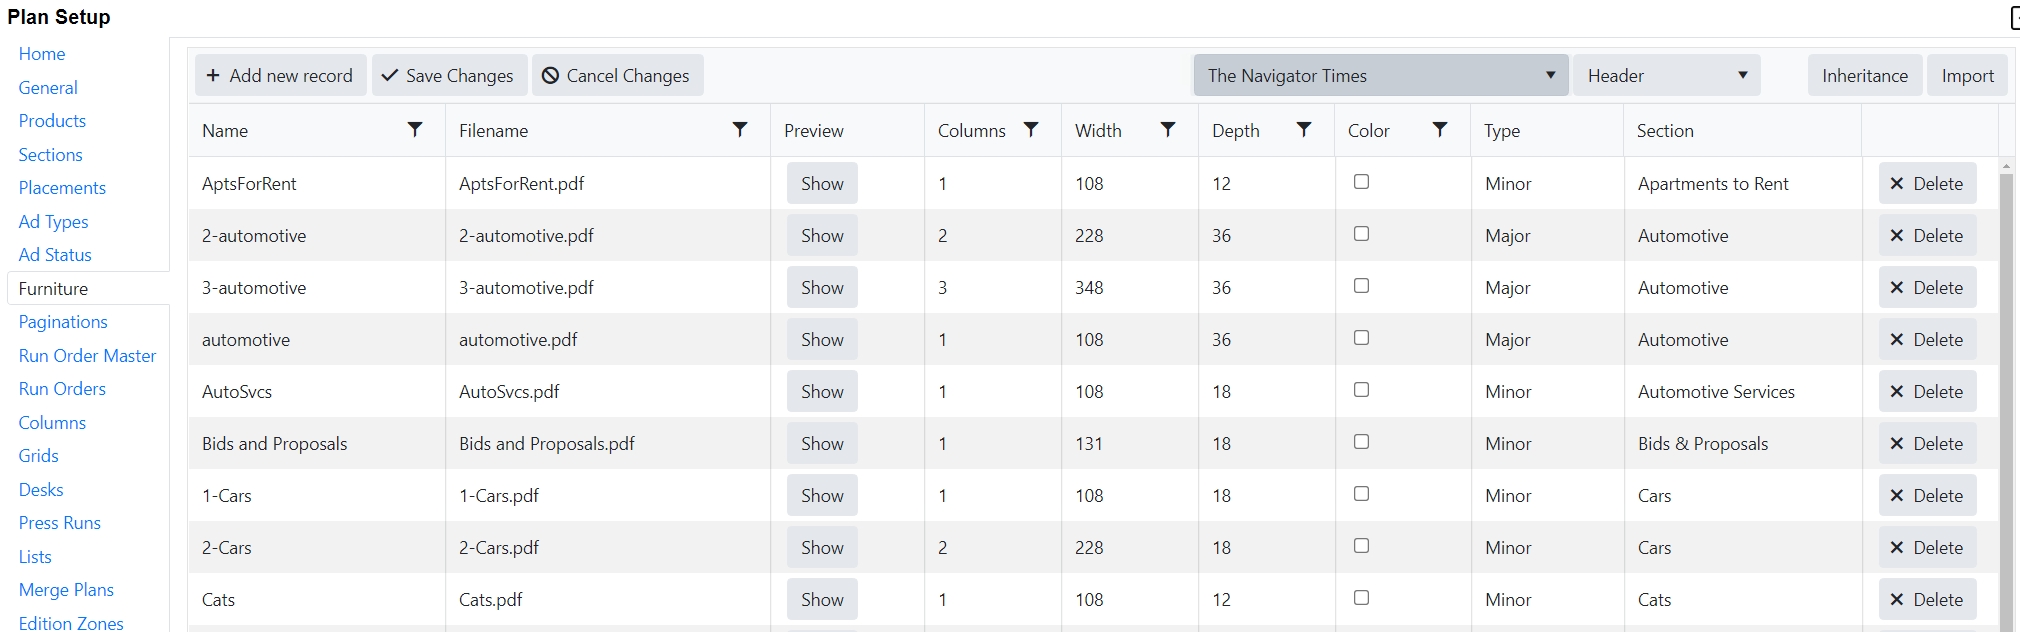
The selected furniture type is now imported:

In the above example, note that the files automotive.pdf, employment.pdf, etc are matching exactly the section name that it is linked to in the last column. These would have been linked automatically. The Obit Banner would have had to be manually linked to the proper section since the names do not match. For major headers and banners that would likely only take a moment. When dealing with minor category headers, that could be quite a lot of work if you have a lot of headers.
Note that there is an ignore column as well. Mark a header/banner/filler with the ignore flag if you no longer wish to use that in Plan.
Inheritance from a Parent Product
If a selected product is using all the same furniture as another product, you can save time by setting it up on the parent product and then allowing others to inherit it.
Select child product from the top
Click Inheritance and see popup open up:
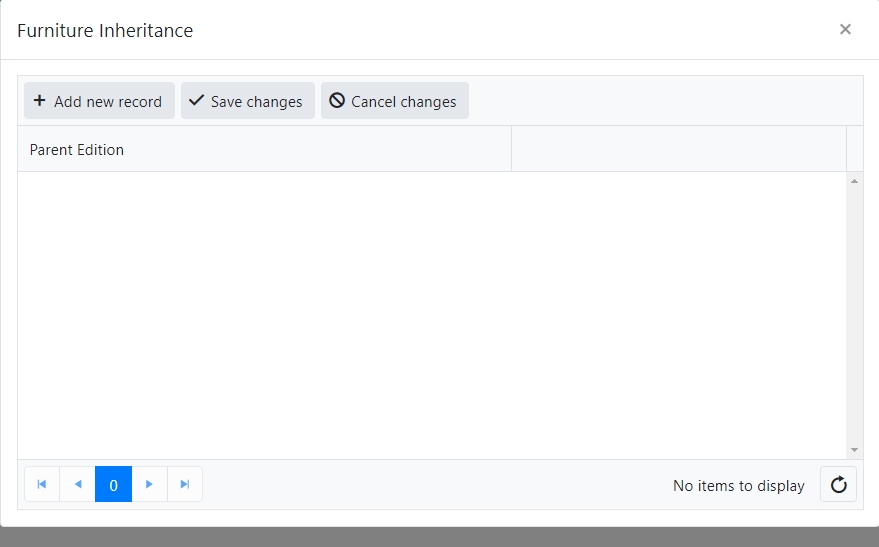
Click Add new record.
Select a product from the Parent Edition dropdown
To save click Save changes.
To cancel without saving, click Cancel changes.
Couple of items worth noting:
A Child can inherit from more than one parent
A Child can have their own furniture as well as the parent’s
A Child will inherit ALL of the parent’s furniture
A Parent product does not HAVE to be a real product.
Sometimes it is desired that a child will inherit just one furniture type (for example, just the fillers), or just some fillers, but not all the fillers from a real product.
You can create a dummy parent product and have the common items be inherited and unique ones will just be on that child’s account
Deleting Furniture
Deleting furniture is currently done one row at a time. It is for this reason that we recommend importing a subset of your furniture for testing and then import more once you are certain it is behaving as expected.
If you get yourself into trouble and need to delete a lot of furniture at once, please contact support or your implementation specialist. If the furniture has not been used, we can delete it using a script.
Last updated
Was this helpful?