
Other Plan Setup Topics
Planning Desks
If your Editorial system utilizes Desks, you can define a desk in Plan setup and then link that desk to the plan itself. There is no explicit function within plan to utilize desks other than sending that information to the editorial system.
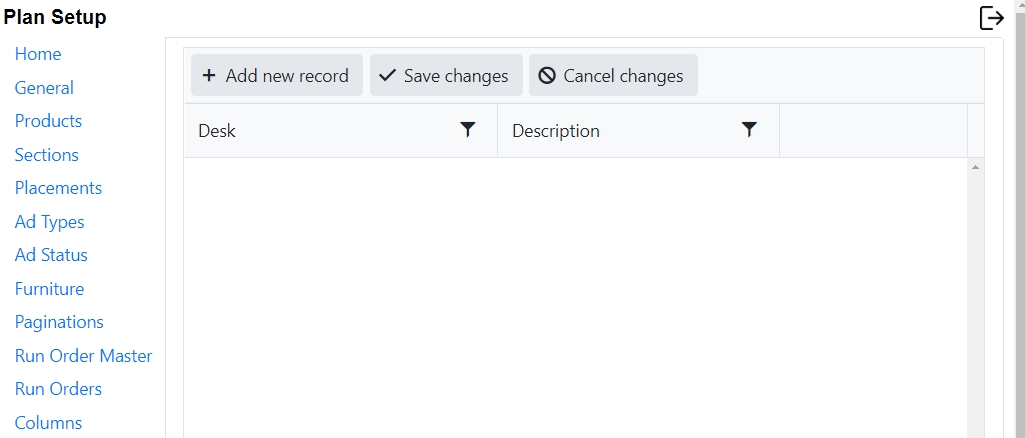
To Create a Desk:
Click + Add New Record at the top of the screen.
Ad a desk name and a description
Click Save Changes
To cancel without saving changes, click cancel.
To delete a desk, select Delete on the row you would like to delete.
Press Runs
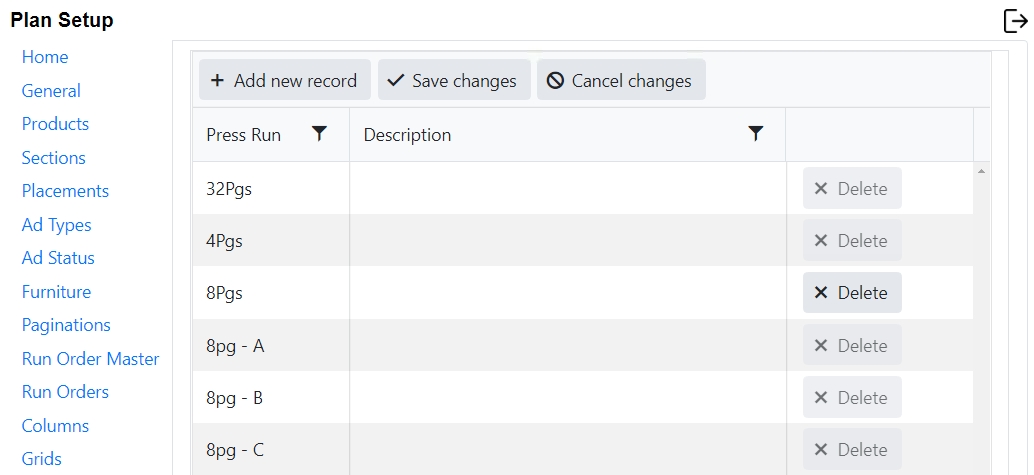
Press Runs can be configured in Setup and then selected for use within the Page Set Setup in Naviga Plan (See Naviga Plan User Guide for more on Page Sets). When Press Runs are configured, the plan may be viewed in page pairs (as they are paired on the press) rather than in numerical sequence. Numbering reflects the collated numbering. For example, pairs for an eight‐page section would appear on the layout as 1 and 8, 2 and 7, 3 and 6, 4 and 5. The pairs may vary according to the page set’s designated press run.
To create a Press Run:
Click + Add New Record at the top of the screen.
Ad a Press Run name and a description
Click Save Changes
To cancel without saving changes, click cancel.
To delete a Press Run, select Delete on the row you would like to delete.
Lists
Certain fields in the system default to a blank field that allows you to fill in text. By setting lists for those fields, admins can enforce standard naming conventions which must be used. These will turn those text fields into drop down selections for the user to choose from. Fields where this is allowed are Page Sets, Profiles, Page Set Codes, Info One, Info Two, and Publication. Custom 1 & Custom 2 are fields which are available to be used in exports in editorial system feeds. (Custom 1 is displayed as “Ad Type” below.)
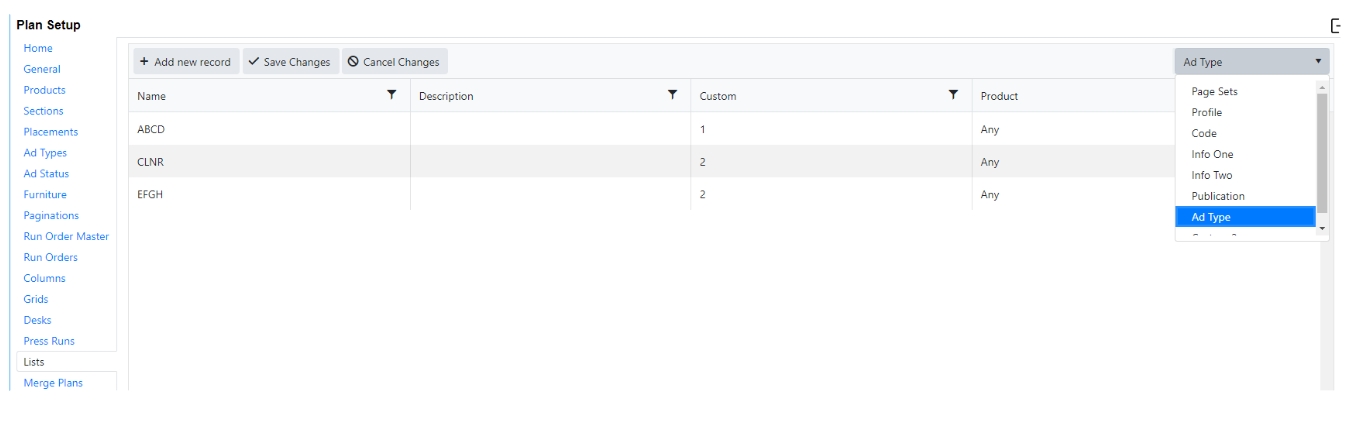
To set up a list:
In the top right, select the Plan field that you would like to turn into a list.
Click add new record.
Fill in a name (this will be what gets displayed in Naviga Plan in the list)
Enter a Description if desired. This is only displayed here in Setup to help you remember what it is for.
“Custom” column is to replace the “Name” value with something custom.
If desired, select a specific product to use this list for. Select “Any” to use for all products.
Page set and Code are used in Page Set Setup. Instead of a blank field, this will become a dropdown selection so that standard names are enforced. Turning the Page set name into a dropdown is often undesirable for sites, so the Code is more frequently used here.
Profile is an attribute found on the page. (Select a page in Naviga Plan and click the ![]() button.) This is a field that can be output to 3rd party editorial systems. It is not used by Plan itself other than an informational field.
button.) This is a field that can be output to 3rd party editorial systems. It is not used by Plan itself other than an informational field.
Info One, Info Two and Publication are often used in exporting information to 3rd part editorial systems. They are attributes of the entire plan, rather than a page or a page set.
Custom 1 and Custom 2 are custom fields which are available for Exporting to editorial systems. In the screenshot above, using the “Labels” feature, the Custom 1 Label was changed to Ad Type. If outputting to Presteligence, you will use this to define the AdType code. The custom values of 1 and 2 are to be inserted in place of the actual AdType when outputting to a particular feed.
Merge Plans
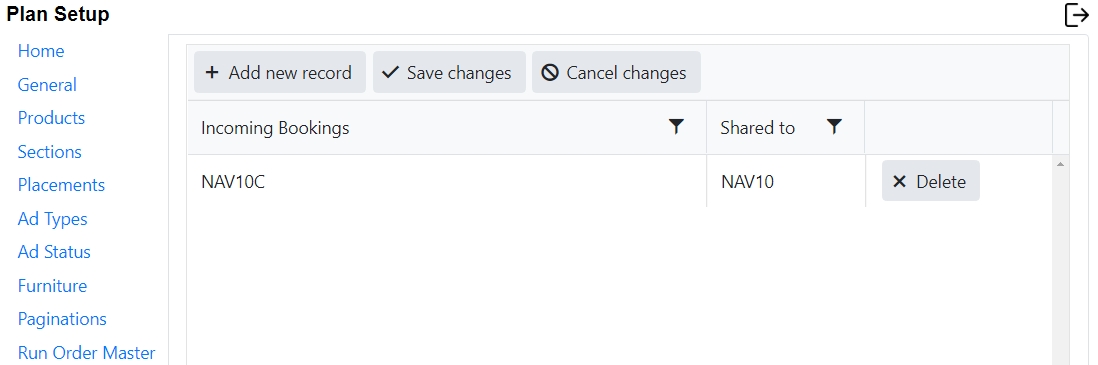
Merge Plans allows multiple products to come together into one Plan. In Naviga Ad, or other Ad Management system, you may decide for ease of booking, or perhaps reporting needs, to separate a product into multiple products in setup and order entry. Merge Plans will bring those products back together again so that you can output as a single product.
To Merge Plans:
Click Add new record
In the incoming bookings field, enter the product code of the product that is to be merged
In the Shared to field, enter the product code of the product that will be receiving the other product’s orders.
Click Save changes.
To cancel without saving changes, click cancel.
To delete a row, select Delete on the row you would like to delete.
Edition
Naviga Ad calls them Editions. NCS Advertising calls them Zones. Naviga Plan calls them Edition. Whatever they are called, they are configured here:

For any Product containing Editions, you will add a row here and define all the editions, starting with what you would consider to be the Primary.
Click Add New record.
Enter the Product Code and Product Name (These should match Product Setup)
Separating each with a comma, list all the editions for that product. (These should match edition setup in Naviga Ad)
If in General -> Miscellaneous, you have set "Zones use products" to "on" then instead of a "Versions" column you will have a label for "Product" there. Then, the "Editions" entered there, should also match Plan Product Codes.
Labels

Labels allows you to change the way certain fields are displayed within Naviga Plan. In this list, you cannot add new records, but for the items that are there, if you would like to change how they are displayed to the end users in Naviga Plan, simply change the name here, and save changes.
Folios
Normally Plan has a single InDesign template assigned to each page.
However, there are times when a design requires a ‘handed’ template, one for left and one for right. To enable this, just add the required templates (aka Folios) to this setup.
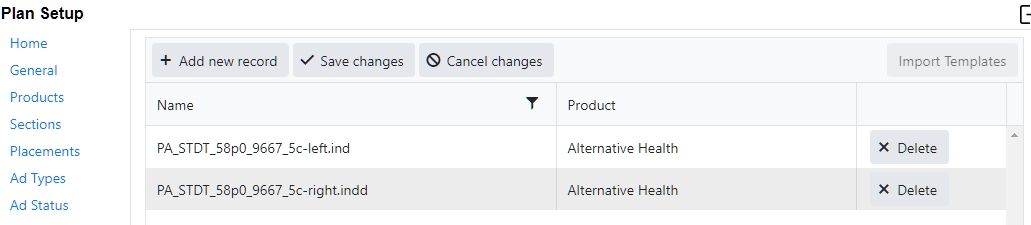
Each folio needs to be defined per product and the filename needs to match that used in Print Production.
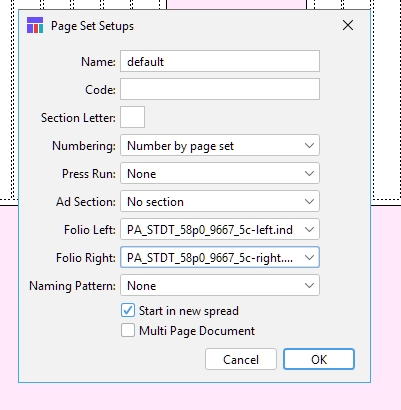
On reopening a plan, you will see the new options in the PageSet dialogs:
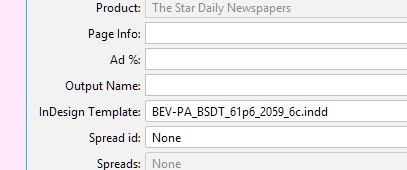
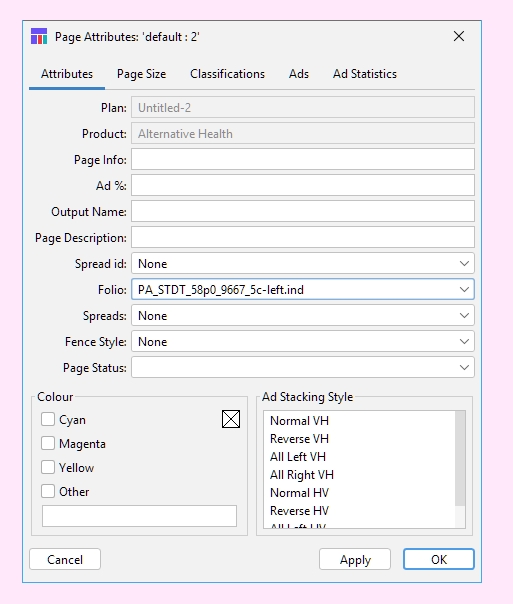
Each page can also be viewed/change in the page info dialog.
Check-in
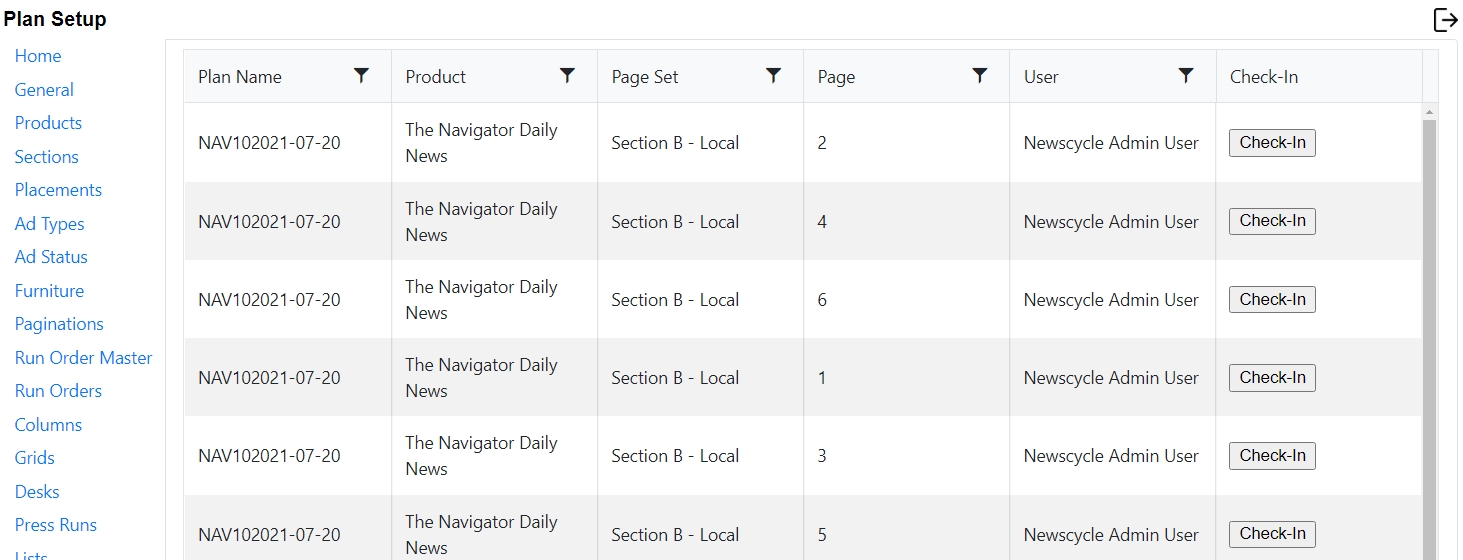
This will list all pages currently checked out within the system. As users save their work, the pages are checked back in and this list will be refreshed. Occasionally, a user may leave an unsaved plan open and walk away, or an error could happen resulting in the page not being checked back in. If an Admin needs to force a page to be checked back in, they can come to this page in Plan Setup and manually check the page back in. Select the desired page and click “check-in” on that row.
Naming Patterns
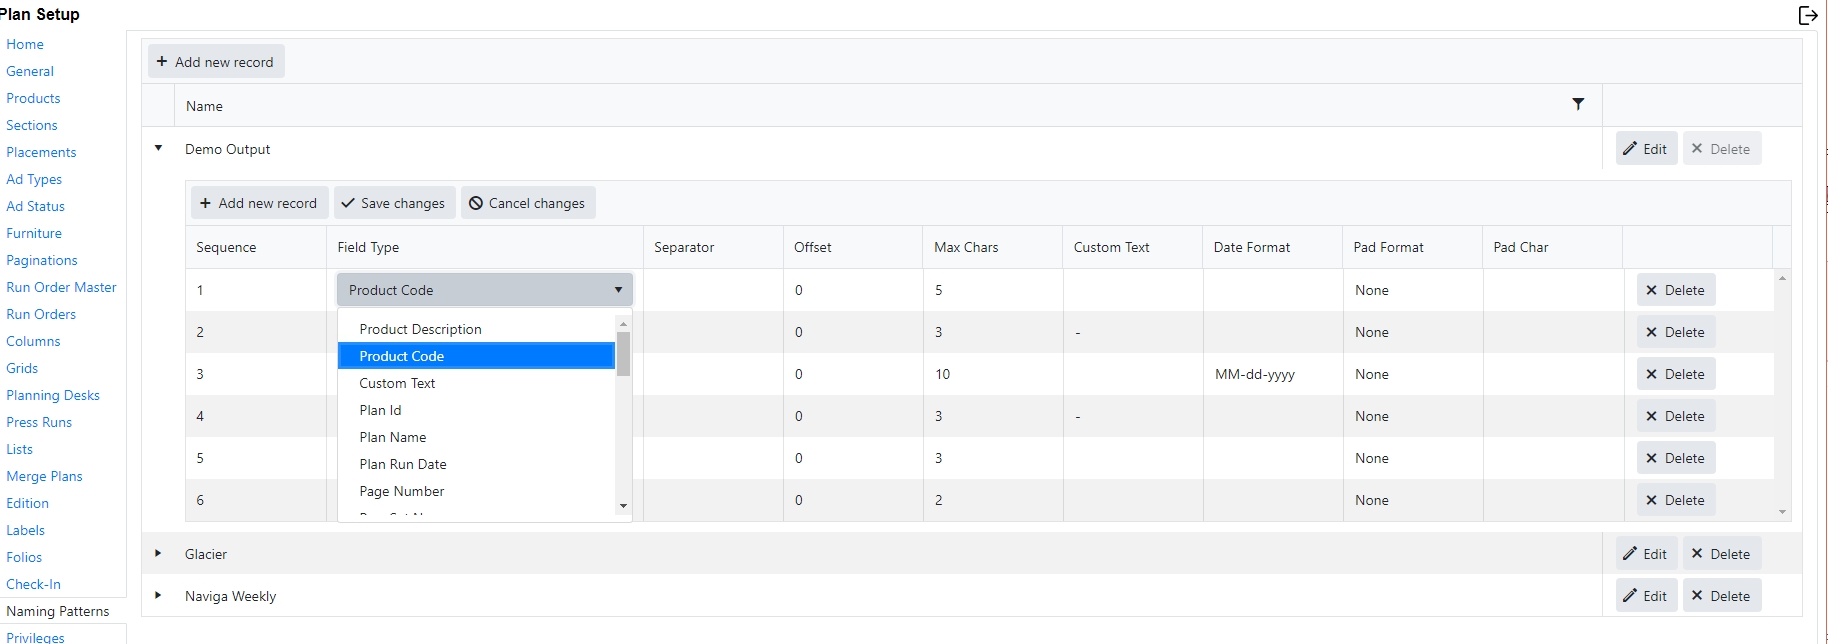
When outputting pages from Plans, the receiving systems often require very specific naming of each page. The filenames built here can be selected from a dropdown when configuring Page Sets in Naviga Plan.
Click Add New Record.
Name the filename. This is what will be displayed on the Page Set configuration window.
Click the triangle on the left to expand the record and configure the output
Click Add New Record under the defined filename
Enter a number for the sequence to define where in the file name that field will reside.
Select the field type. Field type contains fields from the database as well as custom text fields which can be manually entered here.
Enter a separator character, if applicable
Enter the maximum number of characters to enter for a particular field
If you selected Custom Text as the field type, enter the text in the Custom Text column
If you selected a date in the field type, enter the date format in the date format column
If you need to pad the field to enforce a certain number of characters enter the pad format (left, right or none) and the Pad Character in the last two columns.
An Example here, in NCS Content, the page number in the content output is set as 2 or 3 characters in their configuration. Page one, page 2, etc would be output as 02, 03, etc. Or if it is configured to be 3 characters, it would be output as 001, 002, etc. To match that format in here. Select Pad Left, and 0 as the pad character. Then it will force the number to equal the max characters configured and will pad it with leading zeros.
To ensure date format matches standard conventions, see these links for date format options: https://docs.oracle.com/javase/8/docs/api/java/text/SimpleDateFormat.html
https://dangoldin.com/2019/01/06/javas-simpledateformat-yyyy-vs-yyyy/ - Takeaway from this one is that you should use yyyy for year and NOT YYYY or you may have issues come year end.
Privileges
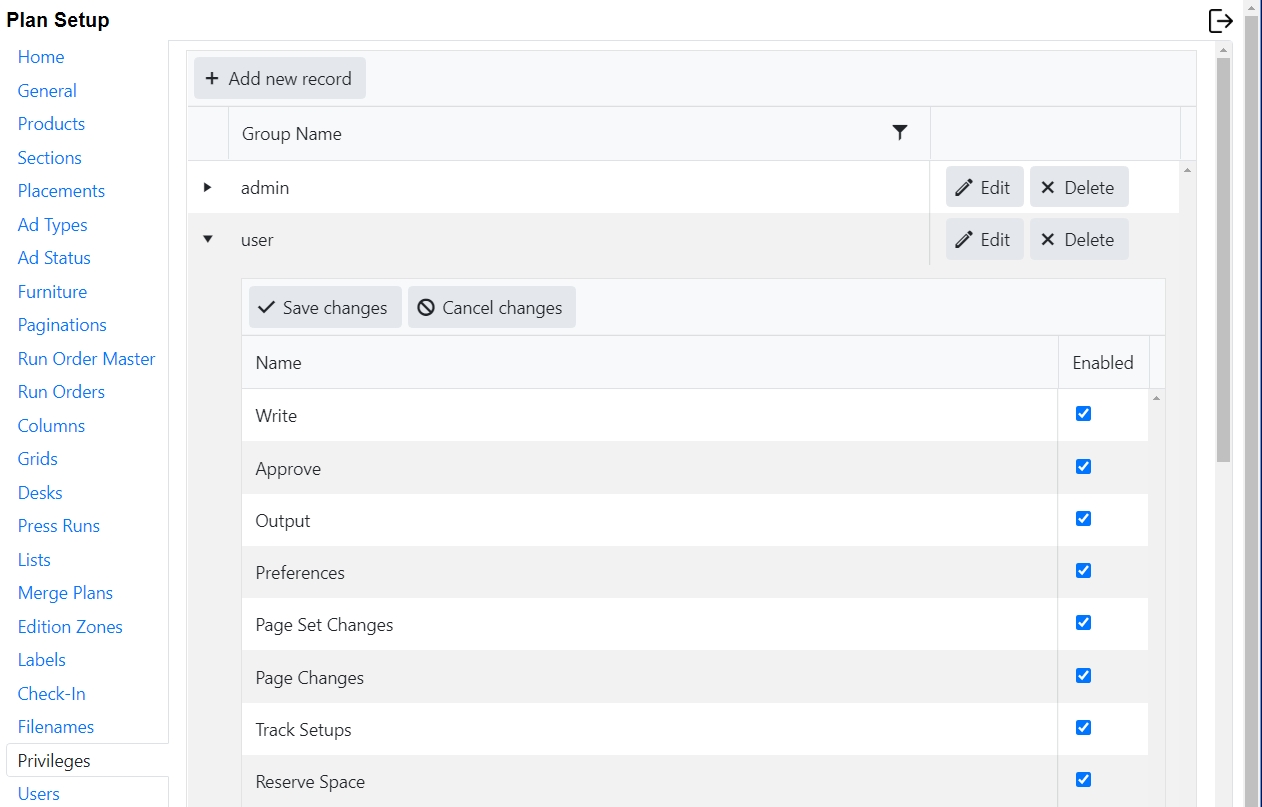
Privileges can be configured to allow and disallow certain functions from within Naviga Plan. By Default, the database comes with an admin group and a user group. Feel free to edit the privileges for these groups or create your own custom groups.
To edit a group, click edit, and then make desired changes, and then click save changes.
To create your own groups, click Add New Record, define the name of your group, and then select which privileges should be enabled for this group. Click Save changes.
Create as many groups as you need.
Users
If NCS Content is your Editorial System, Naviga Plan will share those users, so plan users would be defined inside NCS Content and listed here in Naviga Plan. Select which Privilege Group each user belongs to and click save changes.
NCS Content Users:
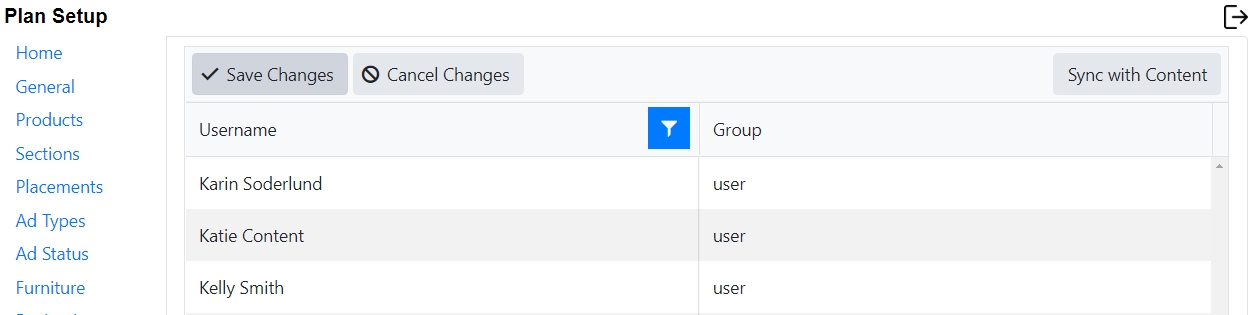
Click Sync with Content if a new user was added in content and isn’t yet displayed here.
Other Implementations:

If NCS Content is NOT your editorial system, then you will define plan users here in Plan Setup:
Click Add new record.
Create a username for your user.
Select which Privilege Group the user belongs to
Enter in a password for that user.
Click save changes to save.
Click Cancel changes to cancel without saving.
Delete Plans
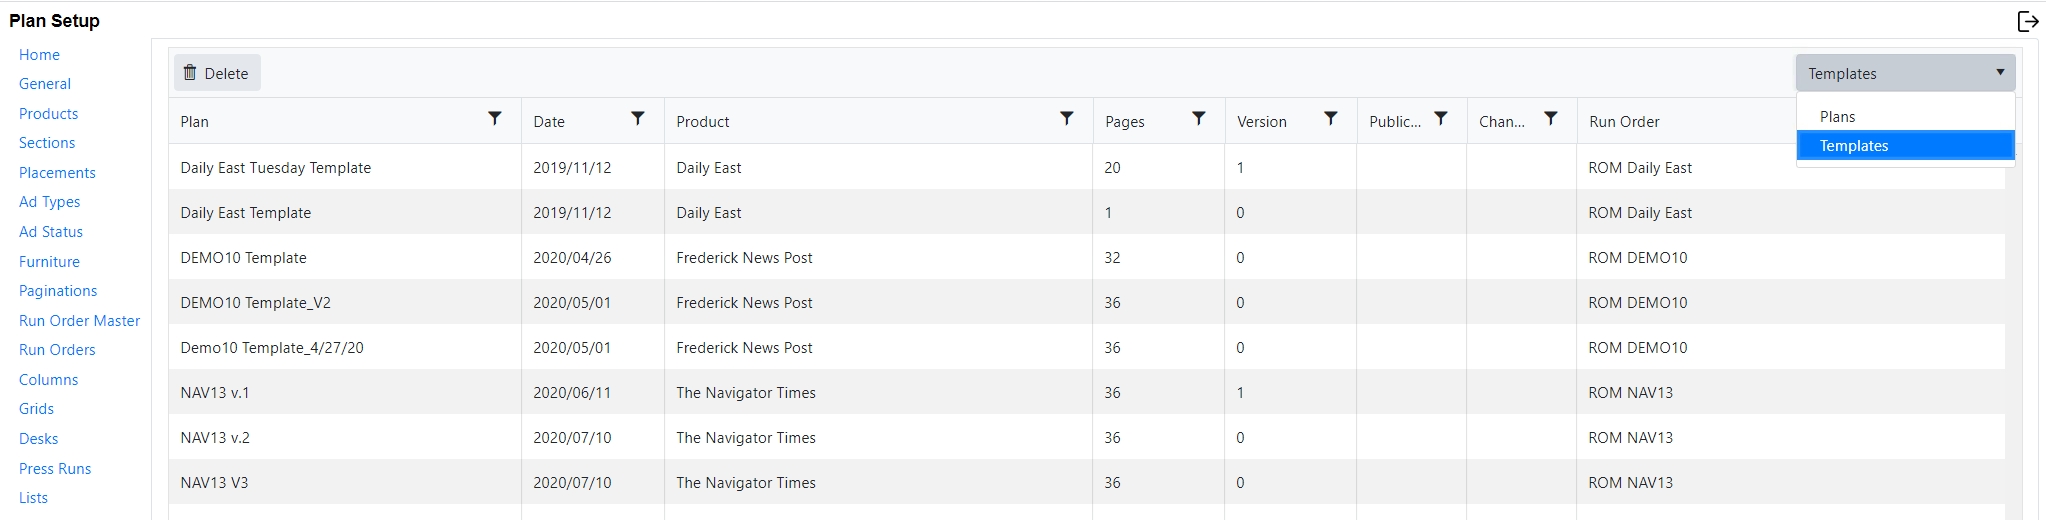
Plans and/or Templates can be deleted. Plans newer than 60 days old will not be displayed in here to protect against accidental deletion of current plans. Please contact Naviga support if you need to delete something newer than 60 days old.
Templates which are no longer needed can also be found and deleted from here. Templates do not have the same 60-day protection that a plan has.
When editing templates, you must find the date that the template was created on and open it up to edit it and resave it. This list can be handy to find what date the template was created against. Alternatively, if you don’t wish to edit an existing template, you can instead select save-as on a plan and save the formatting changes as a new template, and then delete the old one from here.
Last updated
Was this helpful?